
CREATING A COVER: HOW DOES IT WORK?
Whether you’re a new author or a seasoned professional, it helps to know what to expect when working with me on a new cover.
Let’s have a look at how a cover comes together.
Step one: paperwork (the boring bit)
You let me know the basic details about the project. For example:
- Whether you want only an ebook cover, or an ebook and paperback
- The genre and style of cover you want (illustrated or stock)
- The timescale for when you want the cover delivered
I send you a document confirming all the details, as well as the price, and setting out the terms and conditions. You can see the prices for the different options, and for any extras you may need to add, here.

Step two: paying the deposit
Once you are happy with the document, I send you an invoice for a 50% deposit. This is usually sent via Stripe, which allows you to pay by card or Paypal. Other payment options are also available.
You can choose to pay in USD, GBP, CAD, AUD, or NZD.

Step three: gathering information
I ask you a small set of questions to help gather information about your cover. These can include:
- Ideas you may already have for your cover (it’s not a problem if you don’t have any)
- Important characters, scenes, or themes that you want to include on the cover
- Books that you want yours to sit alongside on a bookshelf (this helps to understand where you are aiming your book in the marketplace)
We can do this by email, Zoom, or a call. You choose the method that works best for you.
Quite often, this information is part of what you send me in step one, so these steps are often combined.

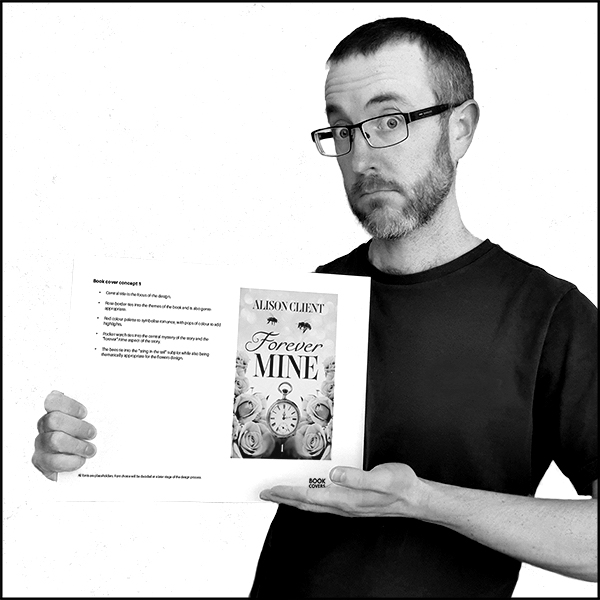
Step four: the concepts stage (the fun part)
I send you a document with 3 or 4 different concept ideas, based on the information gathered in step three.
- For an illustrated cover, this will be a set of simple colour sketches showing my ideas for the cover
- For a stock cover, this will be a set of low-resolution, watermarked stock images that I have composited into possible designs
You review the concepts and let me know what you like and what doesn’t work. If there is a concept that you like, we move on to the next step. If none of them are right, or if they suggest other ideas that you would like to explore, I will produce some more concepts and we repeat the review process.
The reviews can be carried out by email, Zoom, or whatever method is right for you.
Step five: refining the design
I develop the chosen concept into a more detailed sketch or a more polished stock composition.
At this stage it is important to focus on the details, such as the exact descriptions for a character or the correct look for a scene or location.
You review the sketch and let me know about any changes that are needed. I update the sketch (if updates are needed) and we repeat the review process.

Step six: the final artwork (the really fun part)
I complete the final artwork, either as a digital painting or as a composite of licenced stock assets.
You review the artwork and let me know about any adjustments that are needed. I update the artwork (if needed) and we repeat the review process.
We also review options for fonts and the full wrap design for the paperback (the spine and back cover). These will be things we will have been considering throughout the process but it’s often more straightforward to finalise those decisions once the artwork is complete.

Step seven: finalising the files
I send you a short list of information I need in order to make your final cover files. This will include:
- Your final page count
- The blurb for the back cover
- Your paper choice for the interior of the book
- Your ISBN (if you are using Ingram Spark)
I use this information to format your cover files to the correct size for your book.
I also send you an invoice for the 50% balance payment.

Step eight: your cover is done!
Once the balance invoice has been paid, I send you the final cover files for your ebook and paperback. I also send you the extras that are included in the cover package:
- A 3D mockup of your cover
- A 3D mockup on a transparent background, ready to be inserted into your marketing materials
- A social media-friendly graphic announcing your book
You are ready for your cover reveal! Make sure you tag me in your announcement posts and I will share it with my followers, too.

Writing it out as an eight-step process makes it sound fairly clinical. I am pleased to say that the reality is that all of my cover projects have been fun, collaborative, and creative experiences. Steps will often overlap and conversations about one aspect will spark ideas about another. These steps are a guide to help you understand the overall process. They will not be a rigid structure that we must adhere to.

Explore the process in more detail in this case study, where I walk through the process of creating the Wilder Fire cover for author Joseph Schwartz.